:focal(smart))
Using Pixi as a System Package Manager with Shortcuts and Completions
Introduction
Pixi is a cross-platform, cross-language package manager, for both project development (in "workspaces"), and system ("global") package management. The pixi global command-line interface (CLI) provides a declarative way to specify and install packages onto your system which you want available globally (like CLI tools) — check out our Pixi Global announcement blog post for a more detailed introduction!
Pixi Global can be used for much more than just downloading and exposing CLI tools, though! In this blog post, we demonstrate two capabilities of pixi global which are core to making it a featureful and powerful system package manager: shortcuts, and (auto-)completions.
Shortcuts
While lots of packages you may want to install onto your system come in the form of CLI tools, many others come in the form of desktop applications. All of the most common operating systems have the concept of a desktop application which you can launch from a dock on your desktop, without having to interact with a terminal. Common examples include web browsers, Interactive Development Environments (IDEs), and word processors.
To demonstrate how pixi global uses shortcuts to install desktop applications, we'll use as an example the Zed IDE, which we recently packaged for Linux and MacOS. We'll first show how this works from a user's perspective, before taking a look behind the scenes at the steps involved in packaging an application with shortcuts.
Shortcuts work just fine with Windows, too! Zed isn't packaged for Windows yet, but very similar examples could be crafted for Windows once it is packaged.
Installation
Zed is distributed on conda-forge, the largest conda package repository, and where Pixi fetches packages from by default. This means that installation is as easy as pixi global install zed!
❯ pixi global install zed
└── zed: 0.203.4 (installed)
    ├─ exposes: zed
    └─ shortcuts: zed
macOS
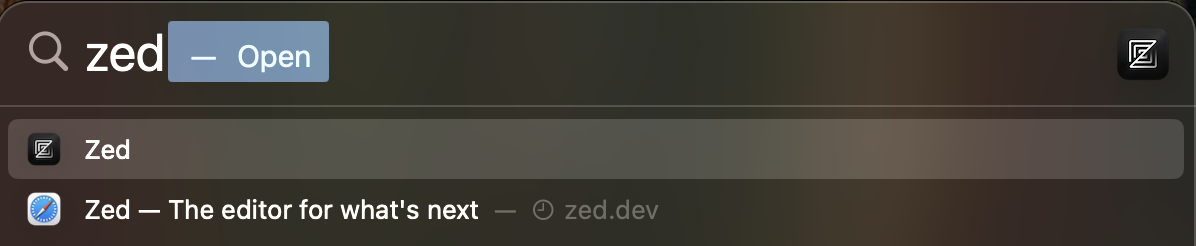
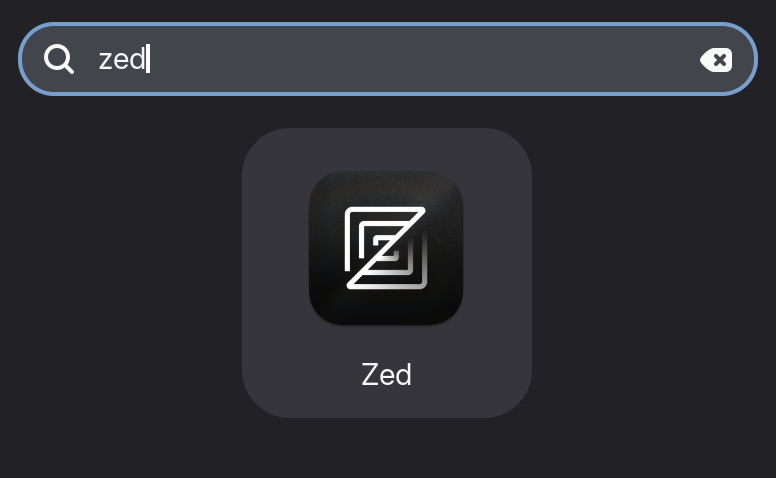
On macOS, this installs the application to ~/Applications/Zed.app. The 'shortcut' magic is that the application is now launchable from the Apps menu and Spotlight search, just like an app installed via the App Store:
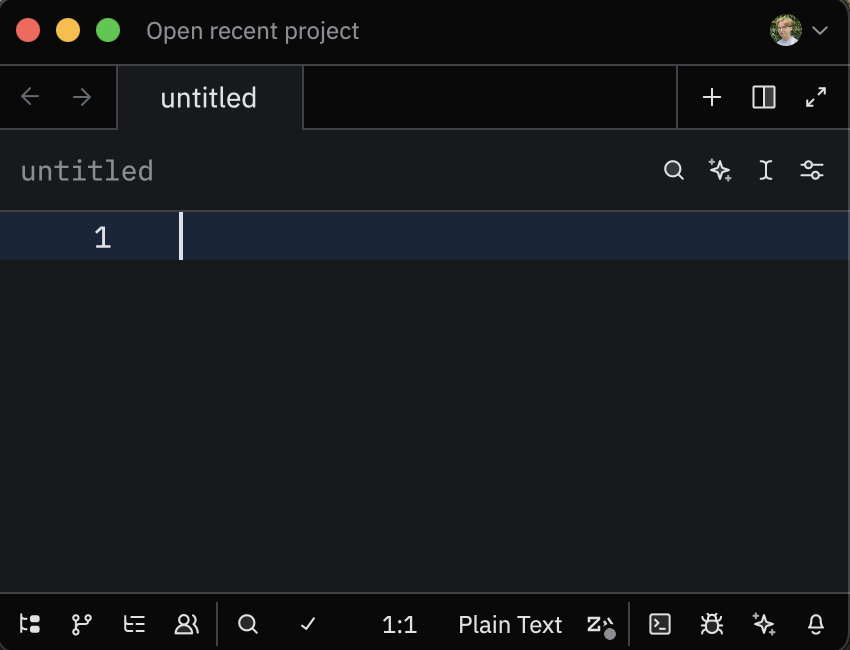
Launching via one of those methods shows the app in the dock, and opens up the IDE!
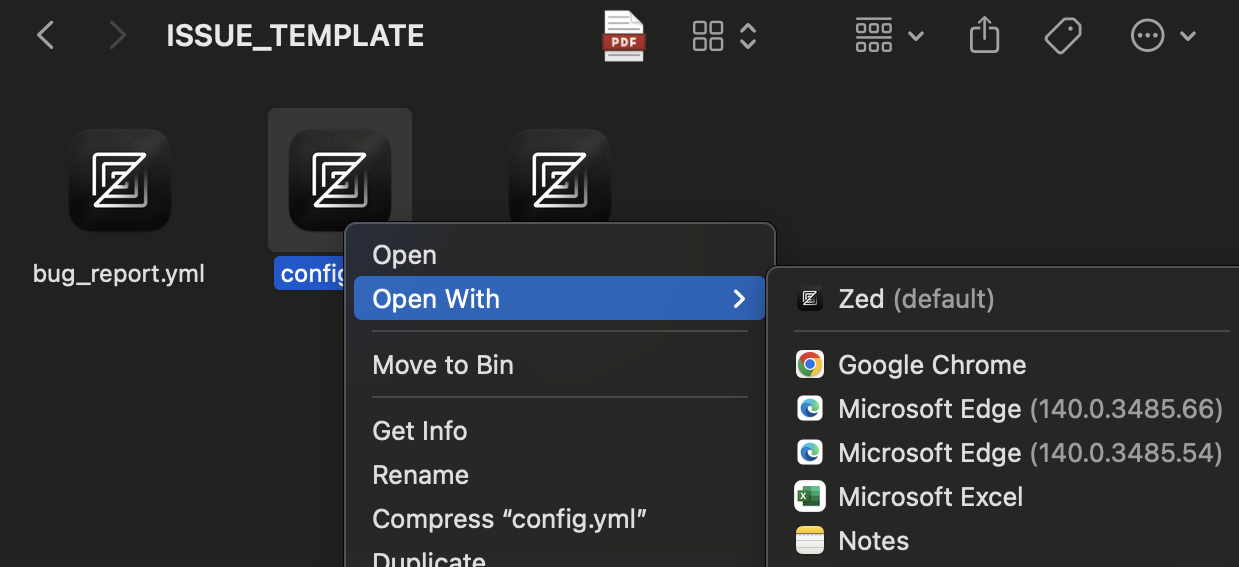
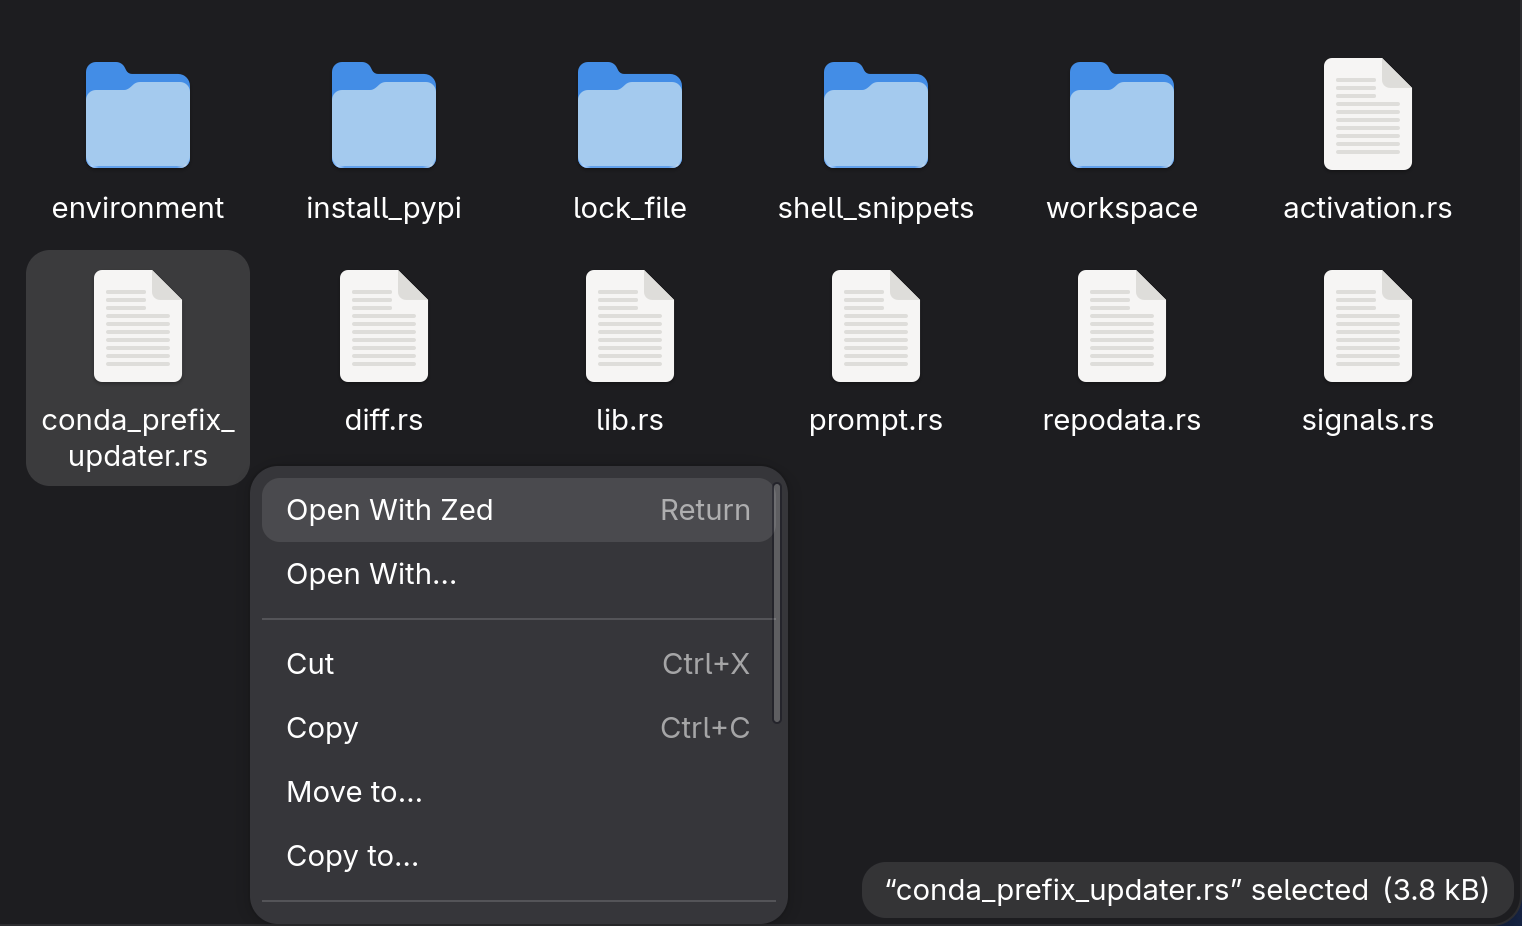
There is also file-type integration, so Zed becomes a suggested application to open text files, like .yml:
Linux
On Linux, we have a very similar story. The application is installed to ~/.local/share/applications or $XDG_DATA_HOME if the environment variable is set. We can then launch it via the application launcher of our desktop environment:
The IDE opens, and the app is displayed in the dock:
File type integration also works nicely, with the OS automatically suggesting to open source code files with Zed:
Updating
To update to a new version, simply pixi global update zed:
❯ pixi global update zed
✔ Updated package zed=0.203.4 -> 0.203.5 in environment zed.
✔ Installed shortcut zed of environment zed.
Packaging
How does this work under the hood?
Packages distributed on conda-forge have the packaging step maintained in a feedstock. In the feedstock, a recipe defines how to produce a package from the source code.
To enable shortcuts, the key step is to include a menu.json file next to the recipe. This file is written in terms of the menuinst spec, and can define shortcuts across Linux, macOS, and Windows.
Here is a simplified version of Zed's menu.json, which includes all required fields:
# menu.json
{
  "$schema": "https://schemas.conda.org/menuinst/menuinst-1-1-0.schema.json",
  "menu_name": "Zed",
  "menu_items": [
    {
      "name": "Zed",
      "description": "High-performance, multiplayer code editor",
      "command": [""],
      "platforms": {
        "linux": {
          "command": ["{{ PREFIX }}/bin/zed", "%F"],
          "StartupWMClass": "dev.zed.Zed",
          "MimeType": ["text/plain", "..."]
        },
        "osx": {
          "command": ["{{ PREFIX }}/lib/zed/zed-editor", "$@"],
          "CFBundleDocumentTypes": [
            {
              "CFBundleTypeName": "text document",
              "LSHandlerRank": "Default",
              "LSItemContentTypes": ["public.text", "..."]
            }
          ]
        }
      }
    }
  ]
}
For more details, see the full Zed menu.json file, and the menuinst reference documentation.
Now one just needs to integrate this shortcut specification with the recipe. This involves adding a few lines to the recipe's build script. Here are the relevant parts for Linux:
#!/usr/bin/env bash

# Install menuinst
mkdir -p "${PREFIX}/Menu"
install -m0644 "${RECIPE_DIR}/menu.json" "${PREFIX}/Menu/${PKG_NAME}_menu.json"
install -m0644 "crates/zed/resources/app-icon.png" "${PREFIX}/Menu/zed.png"

# Build package
cargo build --release --package zed --package cli --target "${CARGO_BUILD_TARGET}"

# Install package
mkdir -p "${PREFIX}/bin"
mkdir -p "${PREFIX}/lib/zed"
install -m0755 target/${CARGO_BUILD_TARGET}/release/zed "${PREFIX}/lib/zed/zed-editor"
install -m0755 target/${CARGO_BUILD_TARGET}/release/cli "${PREFIX}/bin/zed"
The important parts are:
installing the
menu.jsonfile into the packageensuring that any executables/files referenced in the
menu.jsonare installed in the expected location
The lines are very similar for macOS: for details see the full Zed build script. For Windows, the script would look a little different due to using a Batch file instead of a (unix) Shell script, but the steps would be accomplishing the same tasks.
Implementation details
Once the recipe and extra steps for shortcuts from the previous section are ready, rattler-build now has everything it needs to build a shortcut-complete conda package. It has some post-processing checks in place to ensure that any shortcut files included in the package are valid.
All of the logic for generating shortcuts from the menu.json file is implemented in the rattler_menuinst Rust crate. When you ask Pixi Global to install a package (like the package rattler-build produces from our recipe), it checks for shortcuts and installs any it finds using rattler_menuinst. By the time pixi global install is finished, the shortcut-complete desktop application is ready to be used on the operating system!
Completions
Another very useful feature of Zed is that it can be started from within the terminal.
When you are in a directory you want to inspect, you can simply run zed . and Zed will open with the directory already loaded.
You can get the full list of its supported flags by running zed --help.
Usage: zed [OPTIONS] [PATHS_WITH_POSITION]...

Arguments:

  [PATHS_WITH_POSITION]...  The paths to open in Zed (space-separated)

Options:

  -w, --wait
          Wait for all of the given paths to be opened/closed before exiting

  -a, --add
          Add files to the currently open workspace

  -n, --new
          Create a new workspace

      --user-data-dir <DIR>
          Sets a custom directory for all user data (e.g., database, extensions, logs). This overrides
          the default platform-specific data directory location. On macOS, the default is
          ~/Library/Application Support/Zed. On Linux/FreeBSD, the default is $XDG_DATA_HOME/zed. On
          Windows, the default is %LOCALAPPDATA%\Zed

  -v, --version
          Print Zed's version and the app path

      --foreground
          Run zed in the foreground (useful for debugging)

      --zed <ZED>
          Custom path to Zed.app or the zed binary

      --dev-server-token <DEV_SERVER_TOKEN>
          Run zed in dev-server mode

      --system-specs
          Not supported in Zed CLI, only supported on Zed binary Will attempt to give the correct command

          to run

      --diff <OLD_PATH> <NEW_PATH>
          Pairs of file paths to diff. Can be specified multiple times

  -h, --help
          Print help (see more with '--help')
It would be quite convenient to get shell completions for Zed's flags. Luckily pixi global supports exactly that. First, let's generate shell completions with the LLM of your choice. For now, we'll focus on bash, but zsh and fish are supported as well.
# zed.bash

zedcompletions()
{
    local cur opts
    COMPREPLY=()
    cur="${COMP_WORDS[COMP_CWORD]}"
    opts="
        -w --wait
        -a --add
        -n --new
        --user-data-dir
        -v --version
        --foreground
        --zed
        --dev-server-token
        --system-specs
        --diff
        -h --help
    "

    if [[ "$cur" == -* ]]; then
        COMPREPLY=( $(compgen -W "${opts}" -- "$cur") )
    fi
}

complete -F zedcompletions zed
We can validate this completion by running source zed.bash.
If we now type zed - and press the TAB button, we'll get a list of all available commands.
Now it is time to put this into a recipe!
At the moment completions are only supported for Linux and macOS, so we can just put it into build.sh, the unix build script.
mkdir -p "${PREFIX}/share/bash-completion/completions"

install -m0755 "${RECIPE_DIR}/completions/zed.bash" "${PREFIX}/share/bash-completion/completions/zed"
If you were to add completions for zsh or fish, the target directory would be ${PREFIX}/share/zsh/site-functions or ${PREFIX}/share/fish/vendor_completions.d respectively.
During pixi global install, Pixi automatically detects completions of packages and puts them in ~/.pixi/completions (or $PIXI_HOME/completions if the environment variable is set).
Typically we want tab completions available every time we use the shell.
With bash we can ensure that by modifying the startup script ~/.bashrc.
We now add the following line:
source ~/.pixi/completions/bash/zed
Close and restart your terminal and you will have tab completions available for zed.
You can read more about completions in the Pixi docs.
Conclusion
Shortcuts and completions are the last puzzle pieces to fully support graphical and command line applications. Shortcuts provide start menu entries and associated file types.Completions provide tab completions for various shells. Try it out and let us know how it works for you by joining our Discord channel. We'd also be curious to know how you'd feel about a graphical user interface for Pixi Global to manage your applications!