:focal(smart))
The joy of building conda packages with rattler-build
I've always been fascinated by packaging software. You write something in a declarative way, indicate what you want, and magically your software can be easily installed anywhere - from a developer's laptop to a production server or a spaceship.
Having worked as a Python developer for a considerable amount of time (which, when compared to tortoises, feels rather short), I have predominantly been on the consumer side of packaging. The contents of setup.py always appeared somewhat mythical to me, and I struggled to discern the differences between it and setup.cfg. Additionally, the necessity of including -r requirements.txt in pip install commands further puzzled me. The prospect of working on a tool like poetry, designed to enhance the developer experience, intrigued me greatly.
By a stroke of mysterious luck, I found myself involved in a packaging-related project. This opportunity allowed me to unravel the mysteries surrounding setup.py, requirements.txt, setup.cfg, and, most recently, the eagerly anticipated PEP 621 pyproject.toml. I have since acquired a deeper understanding, now able to explain the distinctions between build frontends and backends. Taking a step further, I have recently delved into and contributed to the realms of dependency management and the conda ecosystem, further expanding my knowledge and skills in the field.
At prefix.dev, we are working on adding rattler-build as one of the build tools for the conda-forge ecosystem, and luckily, I've had the chance to work on it. Now, I'll admit, I wasn't exactly an expert in conda-build or rattler-build, and my packaging experience was pretty limited to wheels. The truth is, I love a good challenge, and being a curious person, I started tinkering with both approaches.
So, I've decided to share with you my love and discovery of crafting a modern conda package using rattler-build.
What is a Conda package, really?
Let's start with a short debrief about a Conda package.
A Conda package is basically a tarball or zip (.tar.bz2 or .conda) of files that are extracted in special destination folders (named installation prefix) like $PREFIX/lib, $PREFIX/share, $PREFIX/bin, and others.
If you package pure Python code (let's say a simple CLI tool), the installation prefix will be a familiar $PREFIX/lib/pythonX.X/site-packages and $PREFIX/bin (Unix) or $PREFIX/Scripts (Windows).
Conda packages are more powerful compared to pure Python packaging because you can ship system libraries and interpreters like Python, Ruby, Golang, or even compilers.
conda-build and meta.yaml
To configure your Conda package, you need some sort of settings file.
Historically, this file is called meta.yaml.
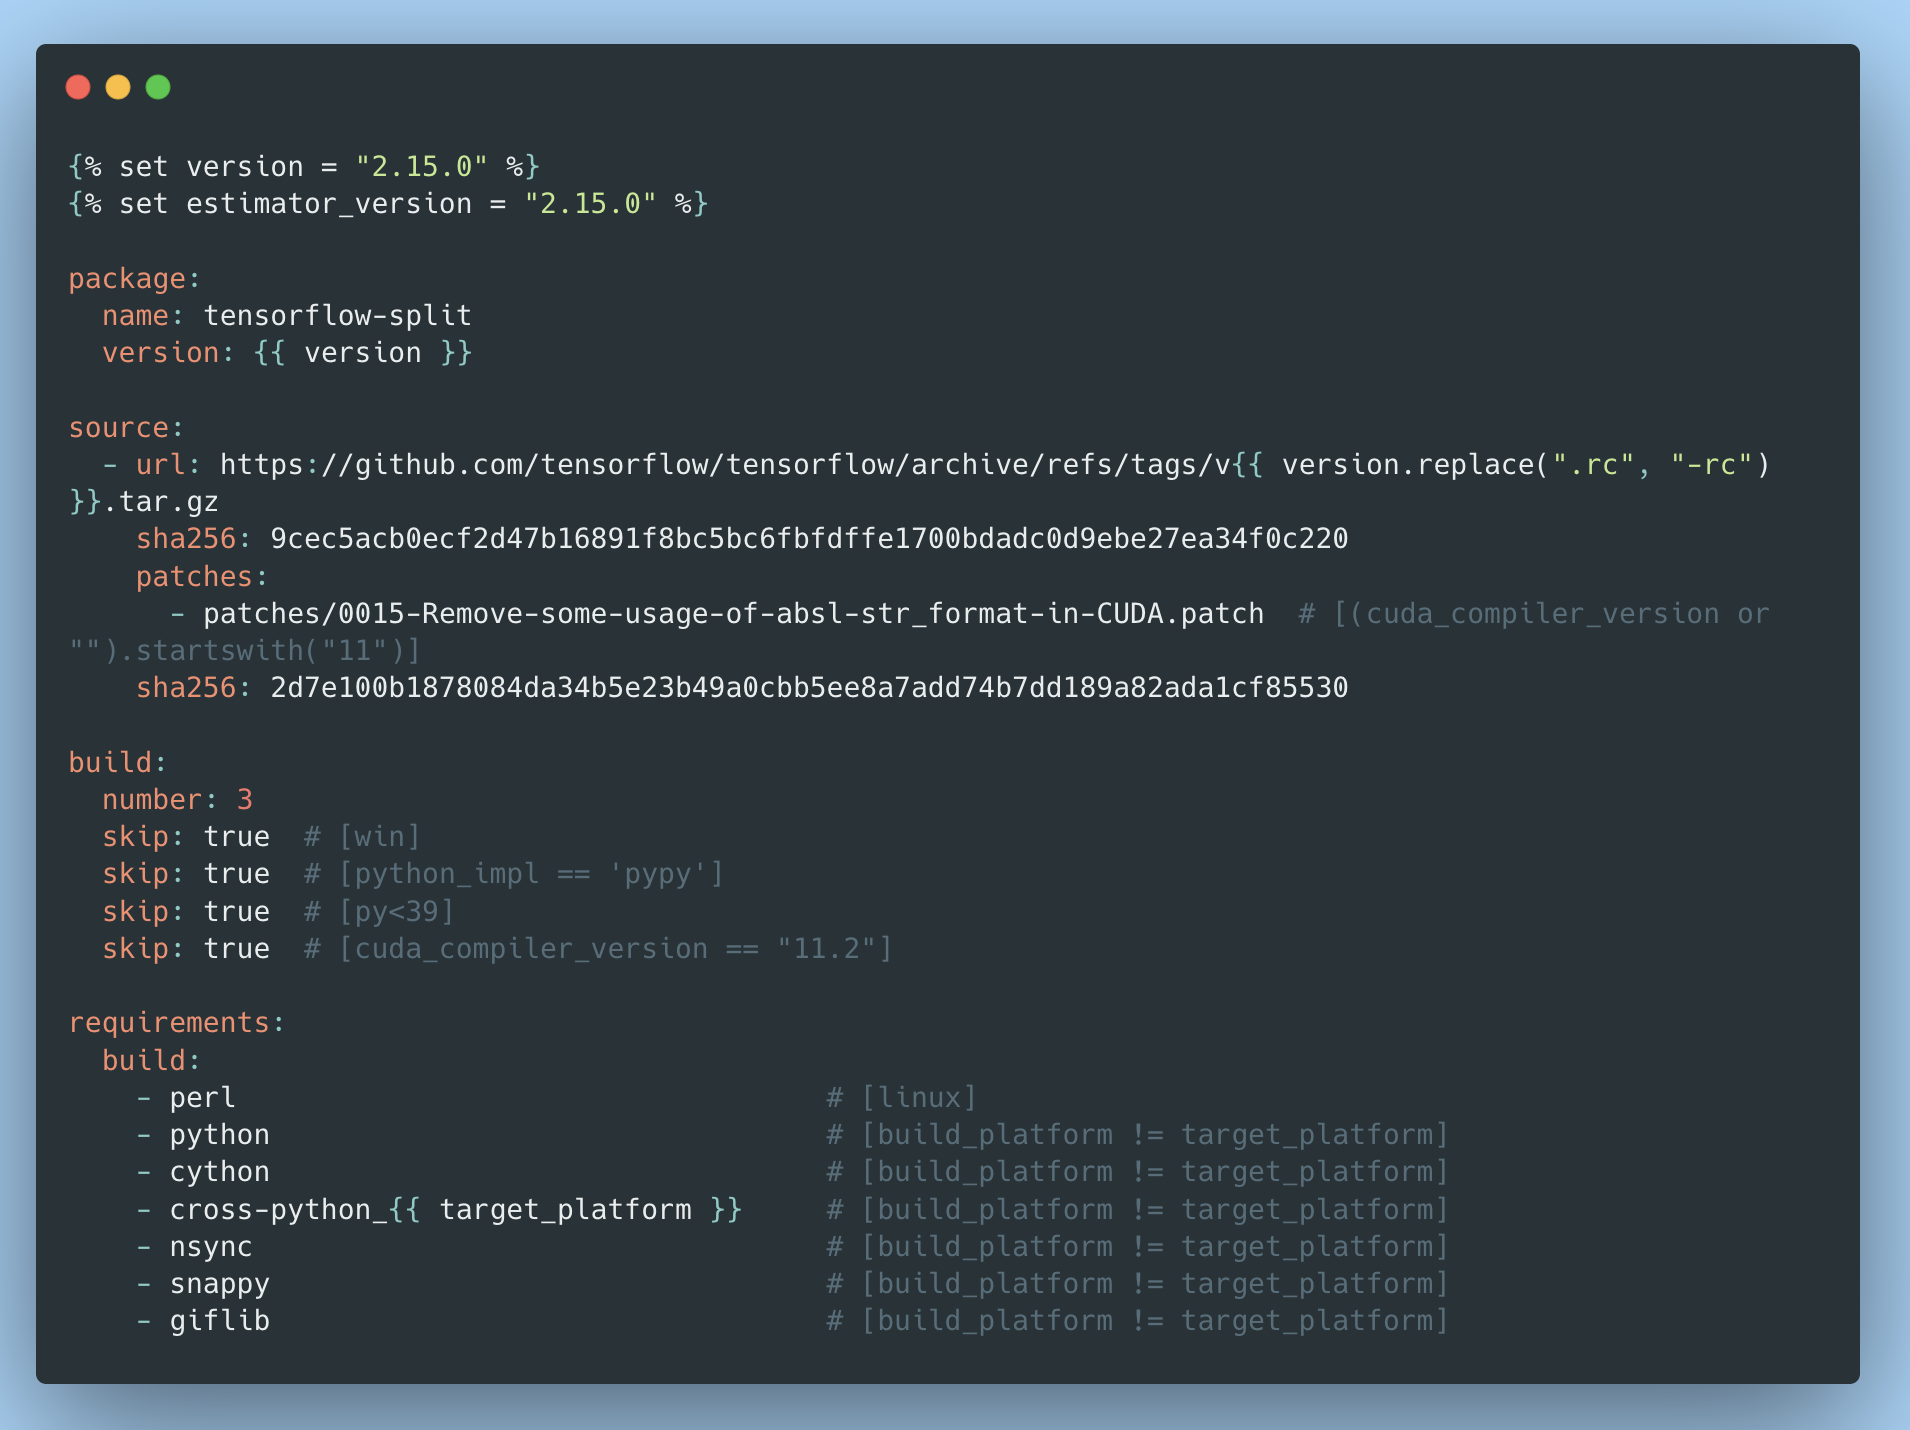
It isn't pure YAML because you can write Jinja's conditionals and loops. Recipe conditionals are expressed as YAML comments. There is a trade-off - it is powerful because of very vast scripting possibilities - but you don't have any IDE support for this format.
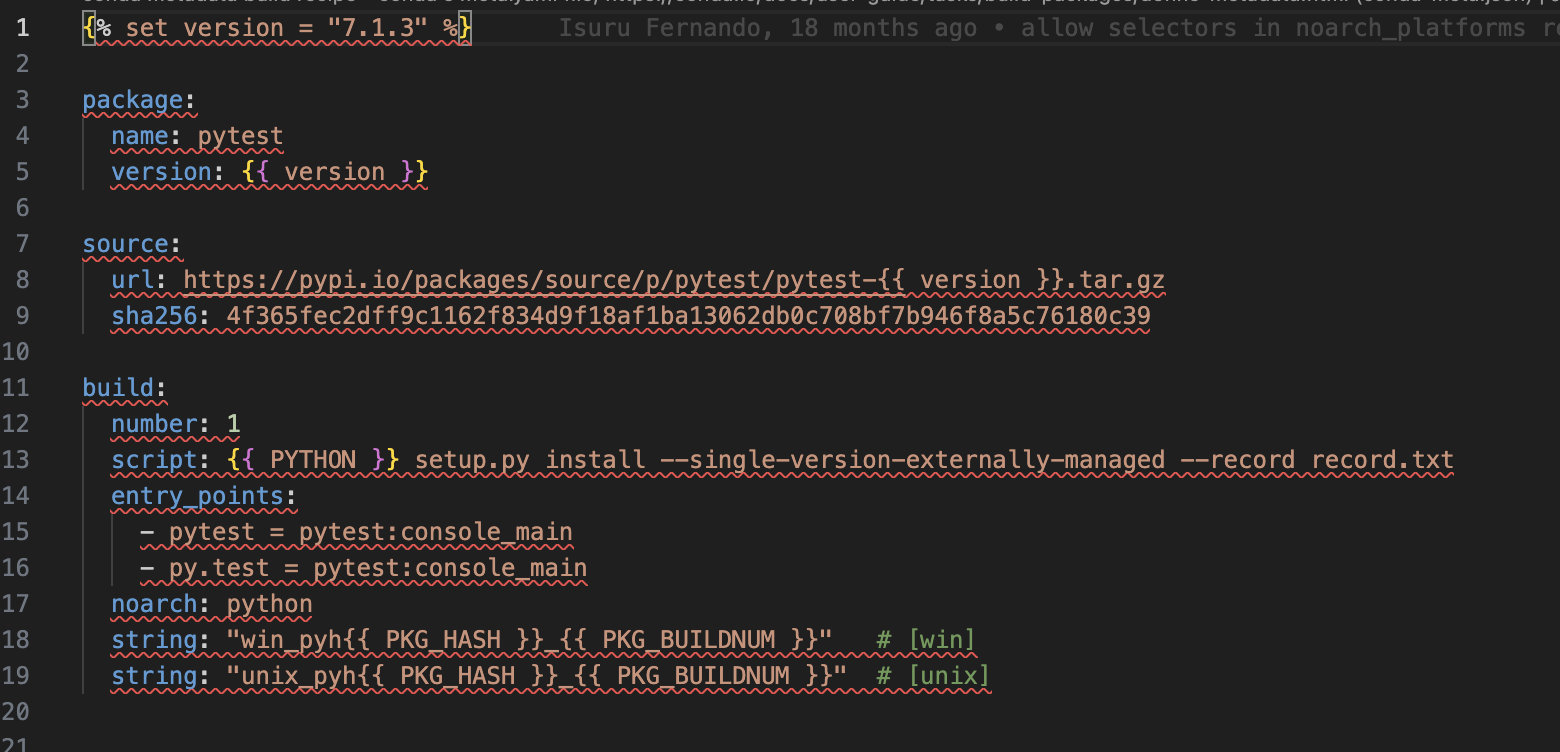
(this is what your meta.yaml looks like in VSCode)
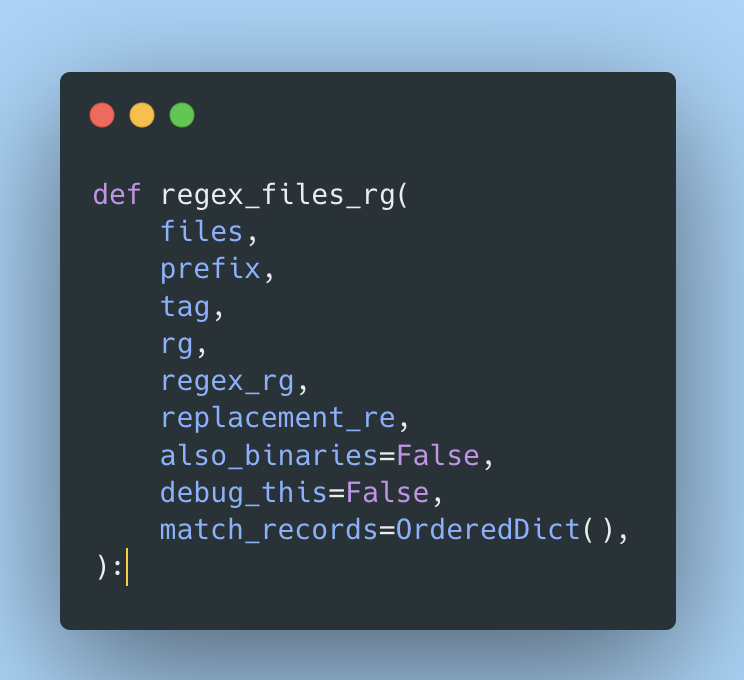
To build and transform your meta.yaml into something installable, people are using conda-build. It is a Python tool, that builds conda packages. Over time, this tool has grown in complexity in order to support all powerful features of conda. When reading the codebase for it, you can see a lot of untyped and long function signatures (like the following image shows).
Rewrite it in Rust!
Rattler-build is a new tool that is implemented from scratch in Rust - on top of our existing rattler library (the same that we use in pixi). To improve the process of recipe creation, rattler-build introduces a new format: recipe.yaml
It is a pure YAML file that supports only a small subset of Jinja functions (functions, variables and "jinja filters"). This means that your favorite IDE will help you by highlighting YAML grammar. Logical operators are now expressed by dictionaries using if:. That makes it very intuitive to transform recipes from meta.yaml into the new format. As an example: polarify meta.yaml vs recipe.yaml)
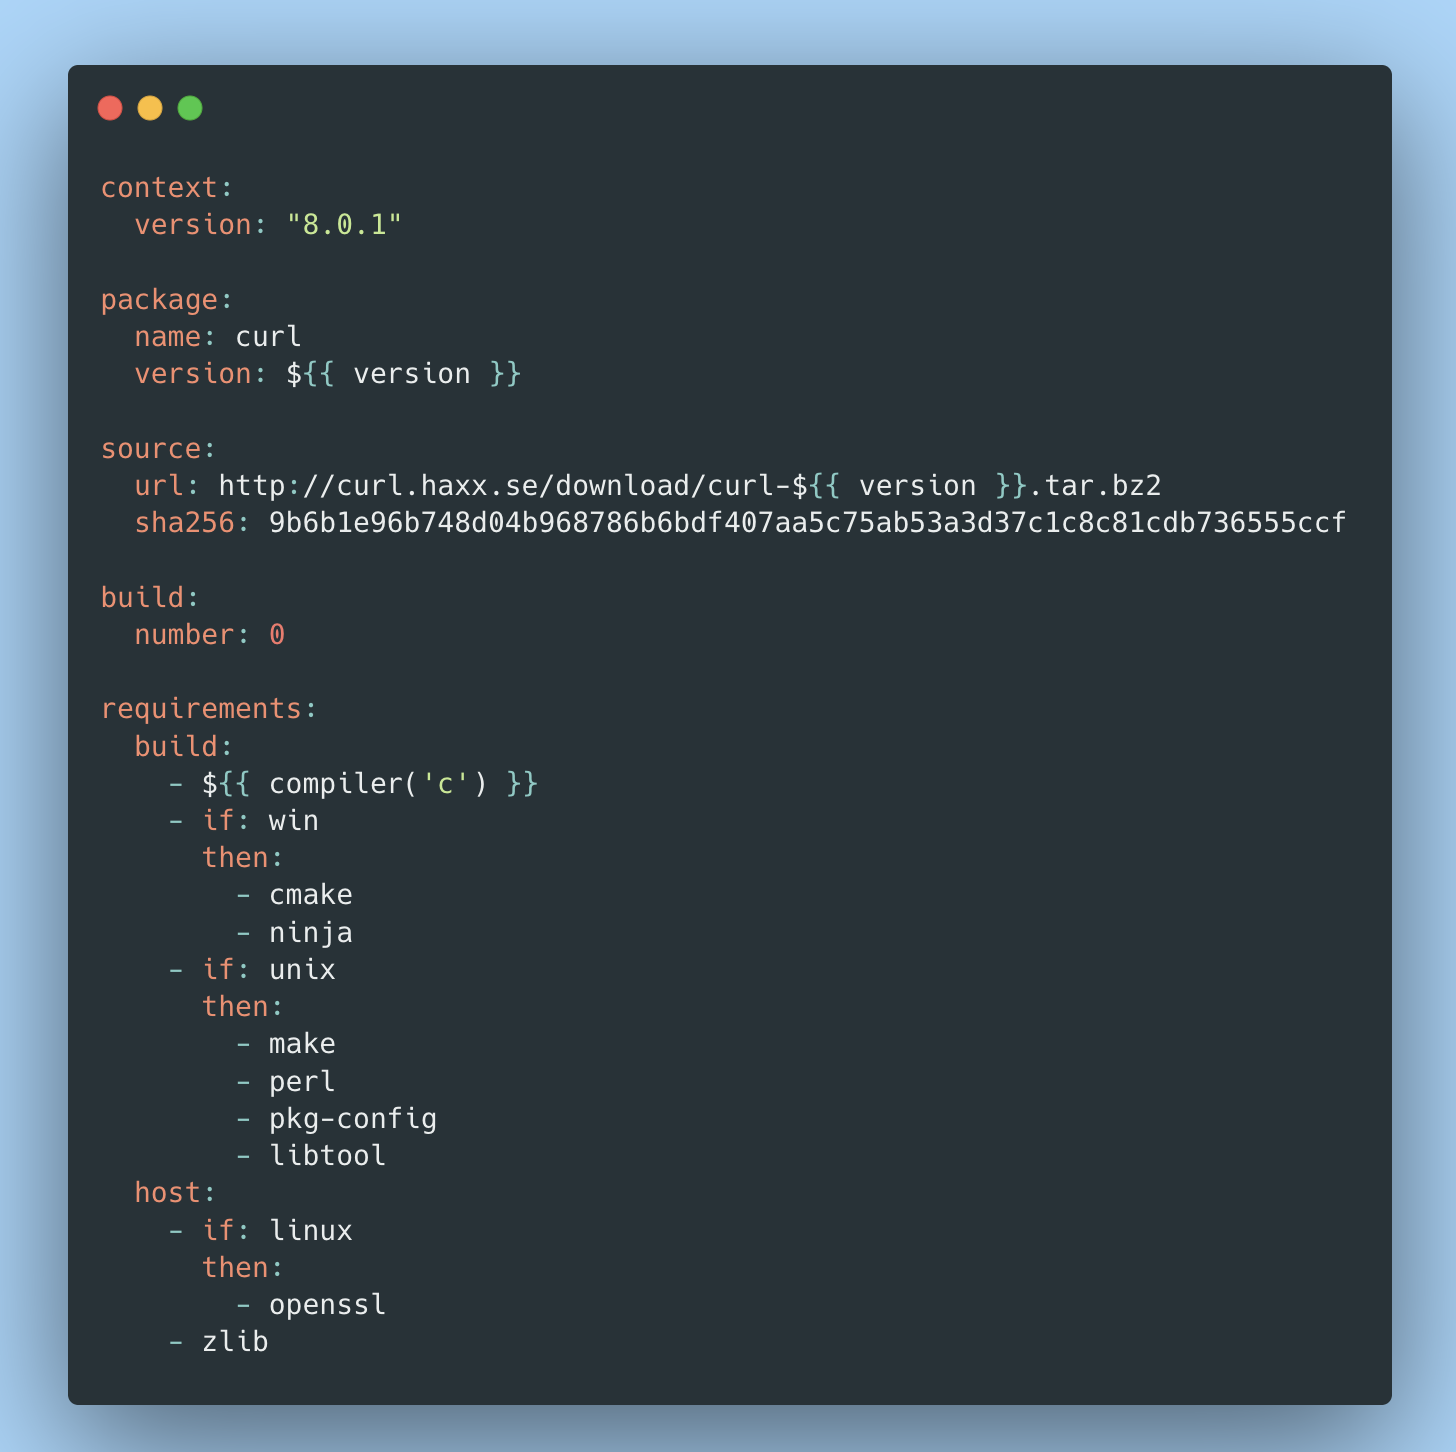 (new
(new recipe.yaml look)
Being written in Rust, rattler-build provides a faster build time. For small recipes, it is 2x faster. In my testing, the speed up is much higher for more complex recipes. This is because it uses rattler under the hood (a Rust re-implementation of conda), the fast resolvo SAT solver, and much faster recipe evaluation (no more recursive Jinja parsing needed).
Making builds reproducible
Another goal of prefix.dev is to make building of conda packages a reproducible process. This means that given the same recipe, build environment and some instructions we can recreate the (exact) same packages. This is an important milestone for security (looking at xz backdoor) and also act as a safety net for developers. It ensures that what you're building today can be exactly replicated tomorrow, next week, or even years down the line. rattler-build was designed to ticks all the boxes.
How can we use it?
Usually, as a Conda user, you download the packages from channels - locations where packages are stored. The most popular one is the conda-forge channel, which is driven by an amazing community. Also, conda-forge is a more than just a repository of packages. It provides and runs infrastructure for users to download, upload, and maintain recipes automatically.
If you want to share your recipe with the world, the current process is that you submit a PR for staged-recipes repository. The automation then creates a separate repository for you - which is called a feedstock.
This is necessary because you will want to build your recipes on different platforms, architectures, run tests, and automatically upload them. For this, conda-forge offers you a separate tool - called conda-smithy, which takes care of "maintaining" and keeping your repository up-to-date.
I've worked with the conda-forge community on adding support for rattler-build to conda-smithy. That means that you will be able to convert your old recipes to the new format or create your new packages directly in the new format and choose rattler-build to build them.
Soon, this feature will be available for use. Keep an eye out for the official announcement once the support is fully integrated!
Apart from the benefits that I listed above, I've also observed the same speedup for CI execution. This gave me the ability to iterate much more quickly during recipe development and lowered the time I spent to recover from a failed run.
A note about the community
During this process, I participated in conda-forge community meetups.
I will not lie - initially, I was shy to join the call. But the conda-forge community is super awesome and friendly. During the calls they share what is new and discuss changes - so you can ask questions or receive feedback about your topic. It is interesting to see how conda-forge is working behind the curtains. I recommend you to join them if you are interested. The calls happen every 2 weeks.
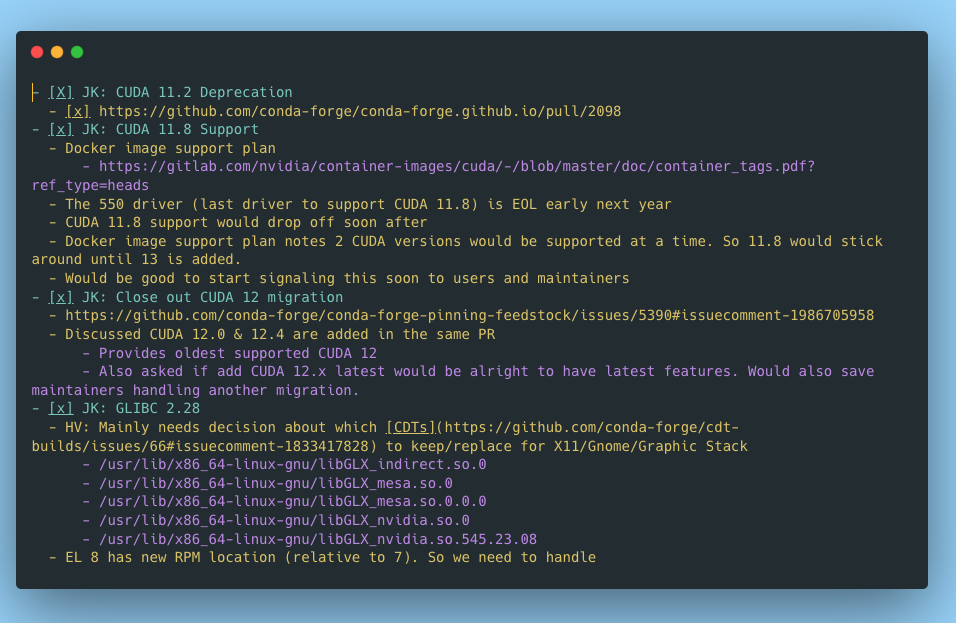 (conda-forge meeting agenda)
Closing thoughts
Working with system packaging is a more complex process. You need to take care of multiple things at the same time - what is the library version you need to use, what is the more appropriate compiler for your library, what are the things supported on Unix/Windows.
I think that crafting things should always be an enjoyable process. I've found that joy using rattler-build. It takes you by the hand during development, highlighting the errors in recipes, pointing out why your dependencies can't be installed, and ultimately building your things. I urge you to give it a try for yourself - you can find an excellent documentation here: rattler-build docs.
Happy hacking!